Now, we're going to look at iReport, and how to create a report using iReport. iReport is the easiest method to create and deploy a report to Jasper Reports.
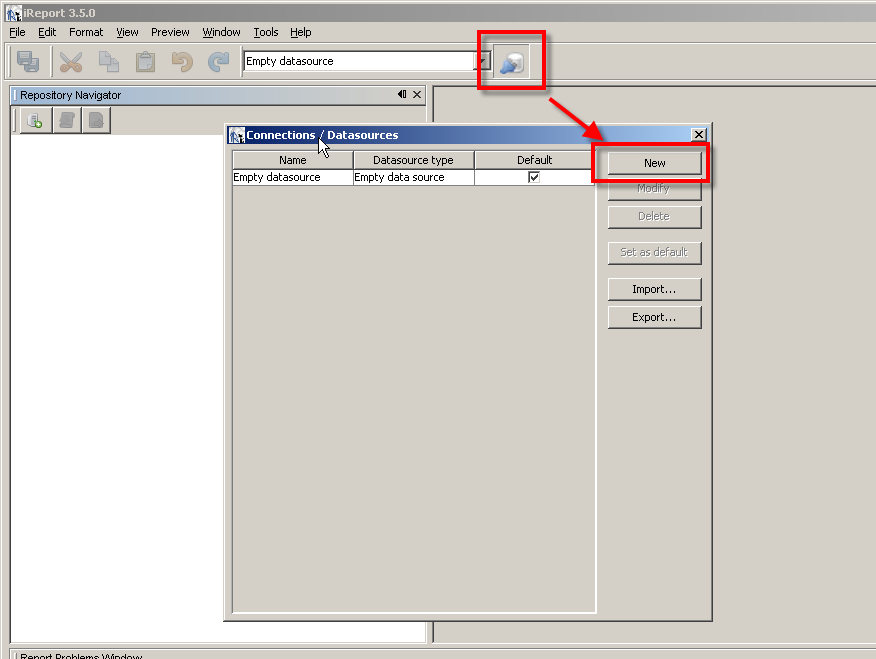
First, we need to create a data source. For our example, we'll use the sample database installed, but you can use any database. First, click on the Report Datasources button to display the local report datasources. Then click on New to create a new datasource:
We'll use a Database JDBC Data connection, for the database created when we installed MYSQL. Usually, you would use separate instances for the Jasper admin Database and the data itself, but here we'll keep things simple. We'll use as the datasource the INFORMATION_SCHEMA of the database itself.
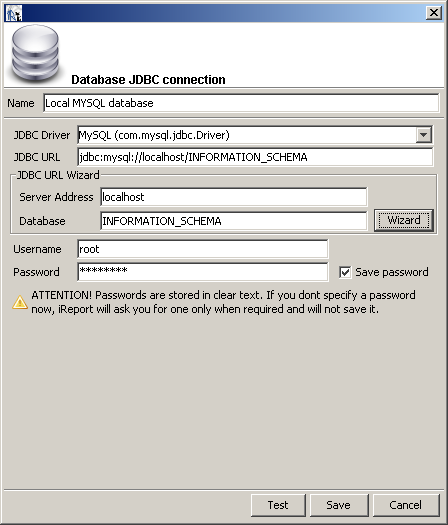
The default password for root is 'password'.
OK. To create a report from scratch, select File->New->Report Wizard:
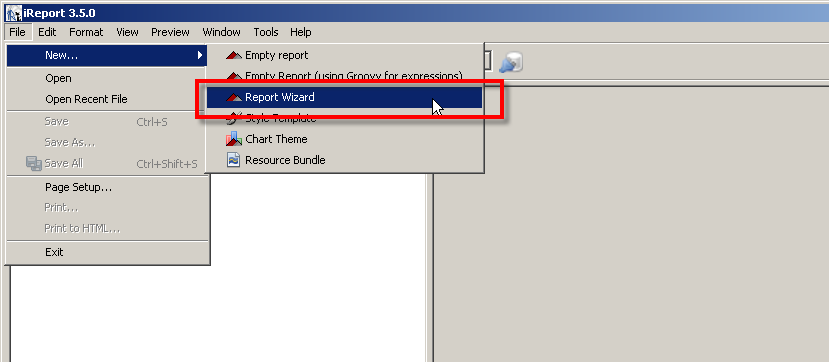
In the wizard, you need to select where the JRXML file will be created, the data source the SQL select statement, the columns from the request to display, and the overall format required. iReport displays the created report. This contains all that is necessary to generate the report.
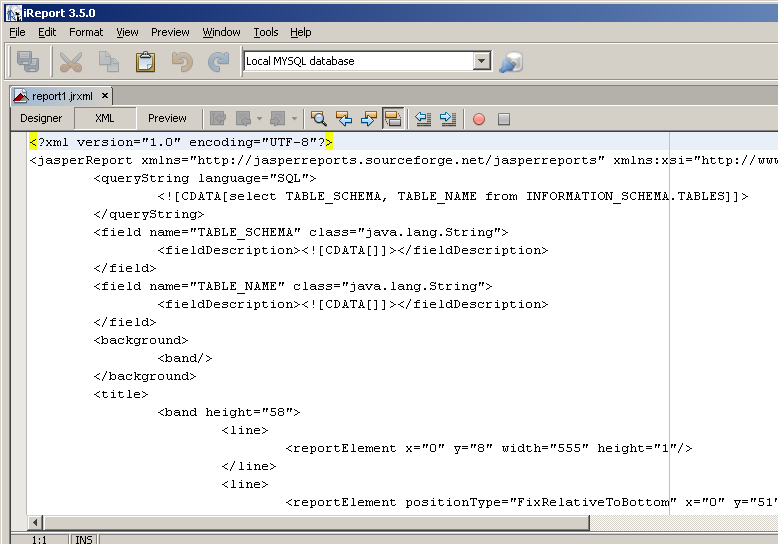
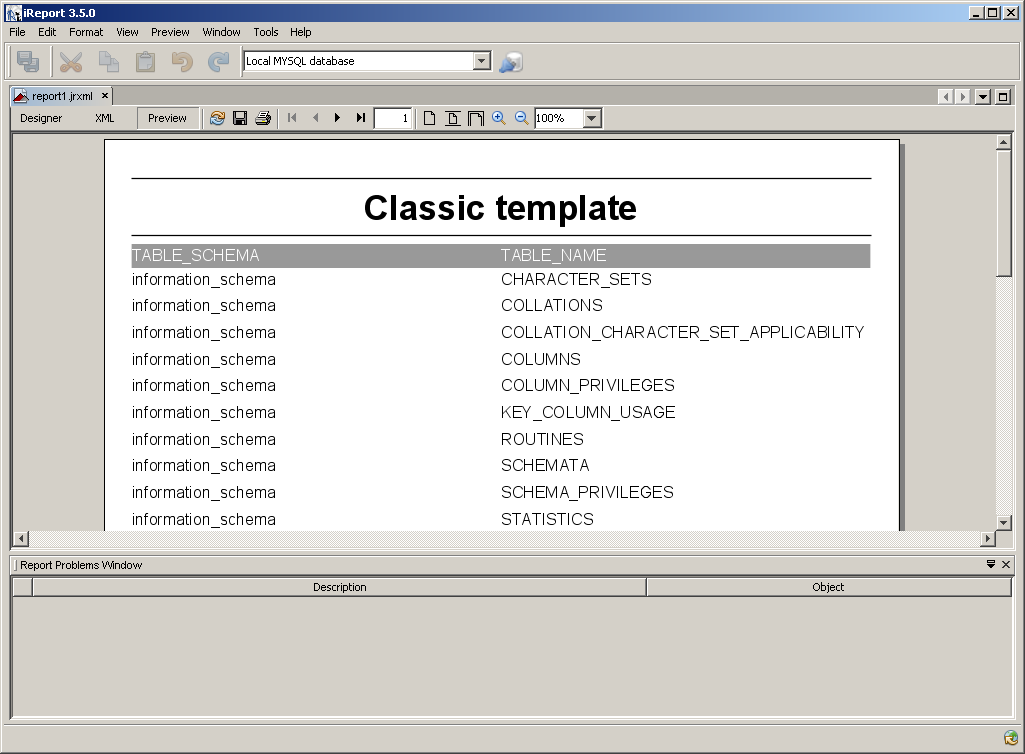
We'll use 'select TABLE_SCHEMA, TABLE_NAME from INFORMATION_SCHEMA.TABLES', select all of the columns and a 'Classic' tabular format report. This gives us:
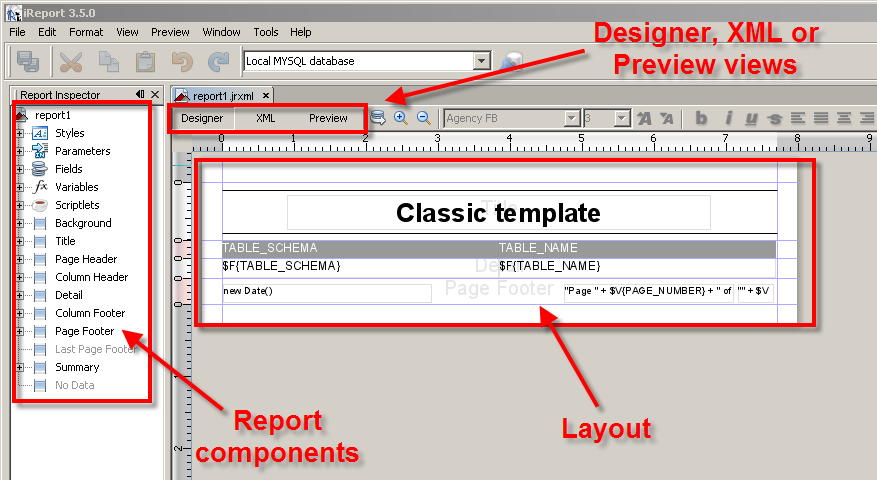
And the XML view (where we can see the source):
And the preview (where we can see the potential results). Note that this uses the data source selected at the top of the main window.
Next, we'll deploy a report to Jasper Server, and run it from there. Next>>
No comments:
Post a Comment